
Field manual / 02 / Aberrant build manual
CONTROL Resonant Combat & Builds — Guide
If your build feels weak, we would first ask why: are you missing openings, running out of power or struggling to close the distance? Once you know the problem, we can help you change the Form, ability or passive effect that actually addresses it.
What this guide helps you accomplish
The current 1.4.2 build rewards problem-solving rather than one universal tier list. Pick an Aberrant Form for its range and target pattern, add a Combat Ability for control or defense, then use Talents and Artifacts to fix the exact symptom: distance, Power recovery, slow Falter, weak survival or poor boss damage.
Start reading01 / The rule
How does the melee-to-power loop work?
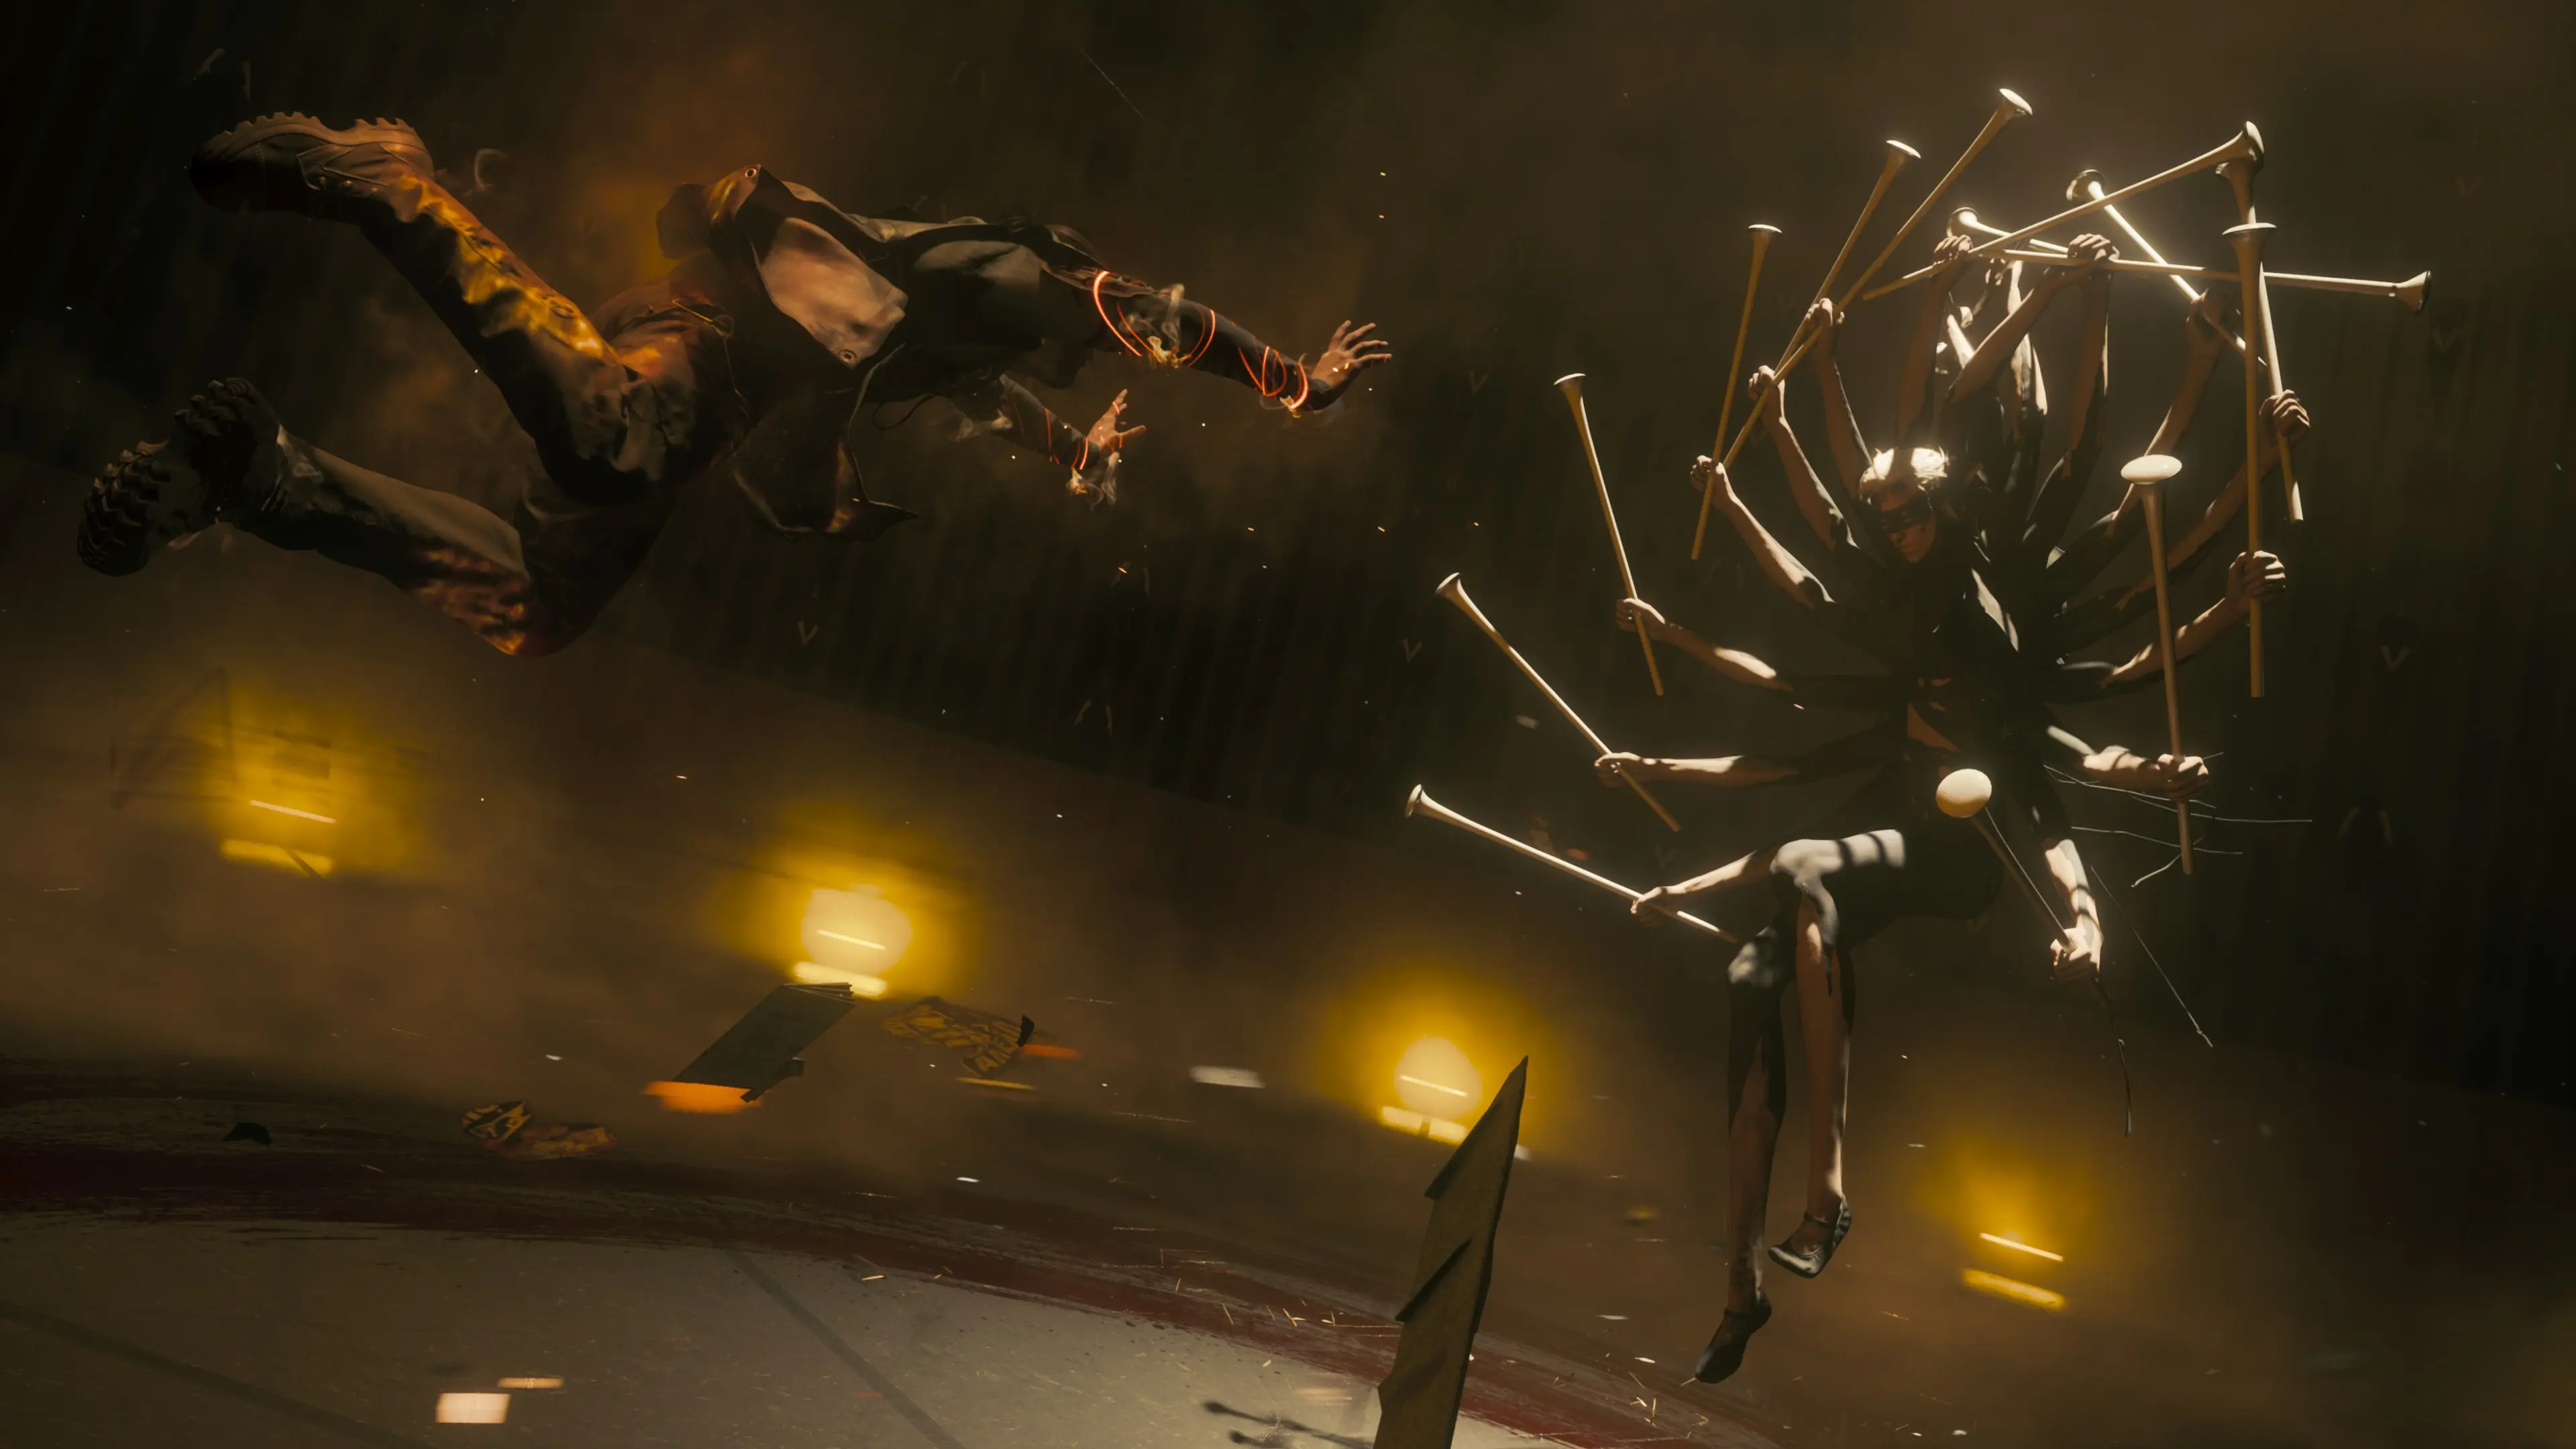
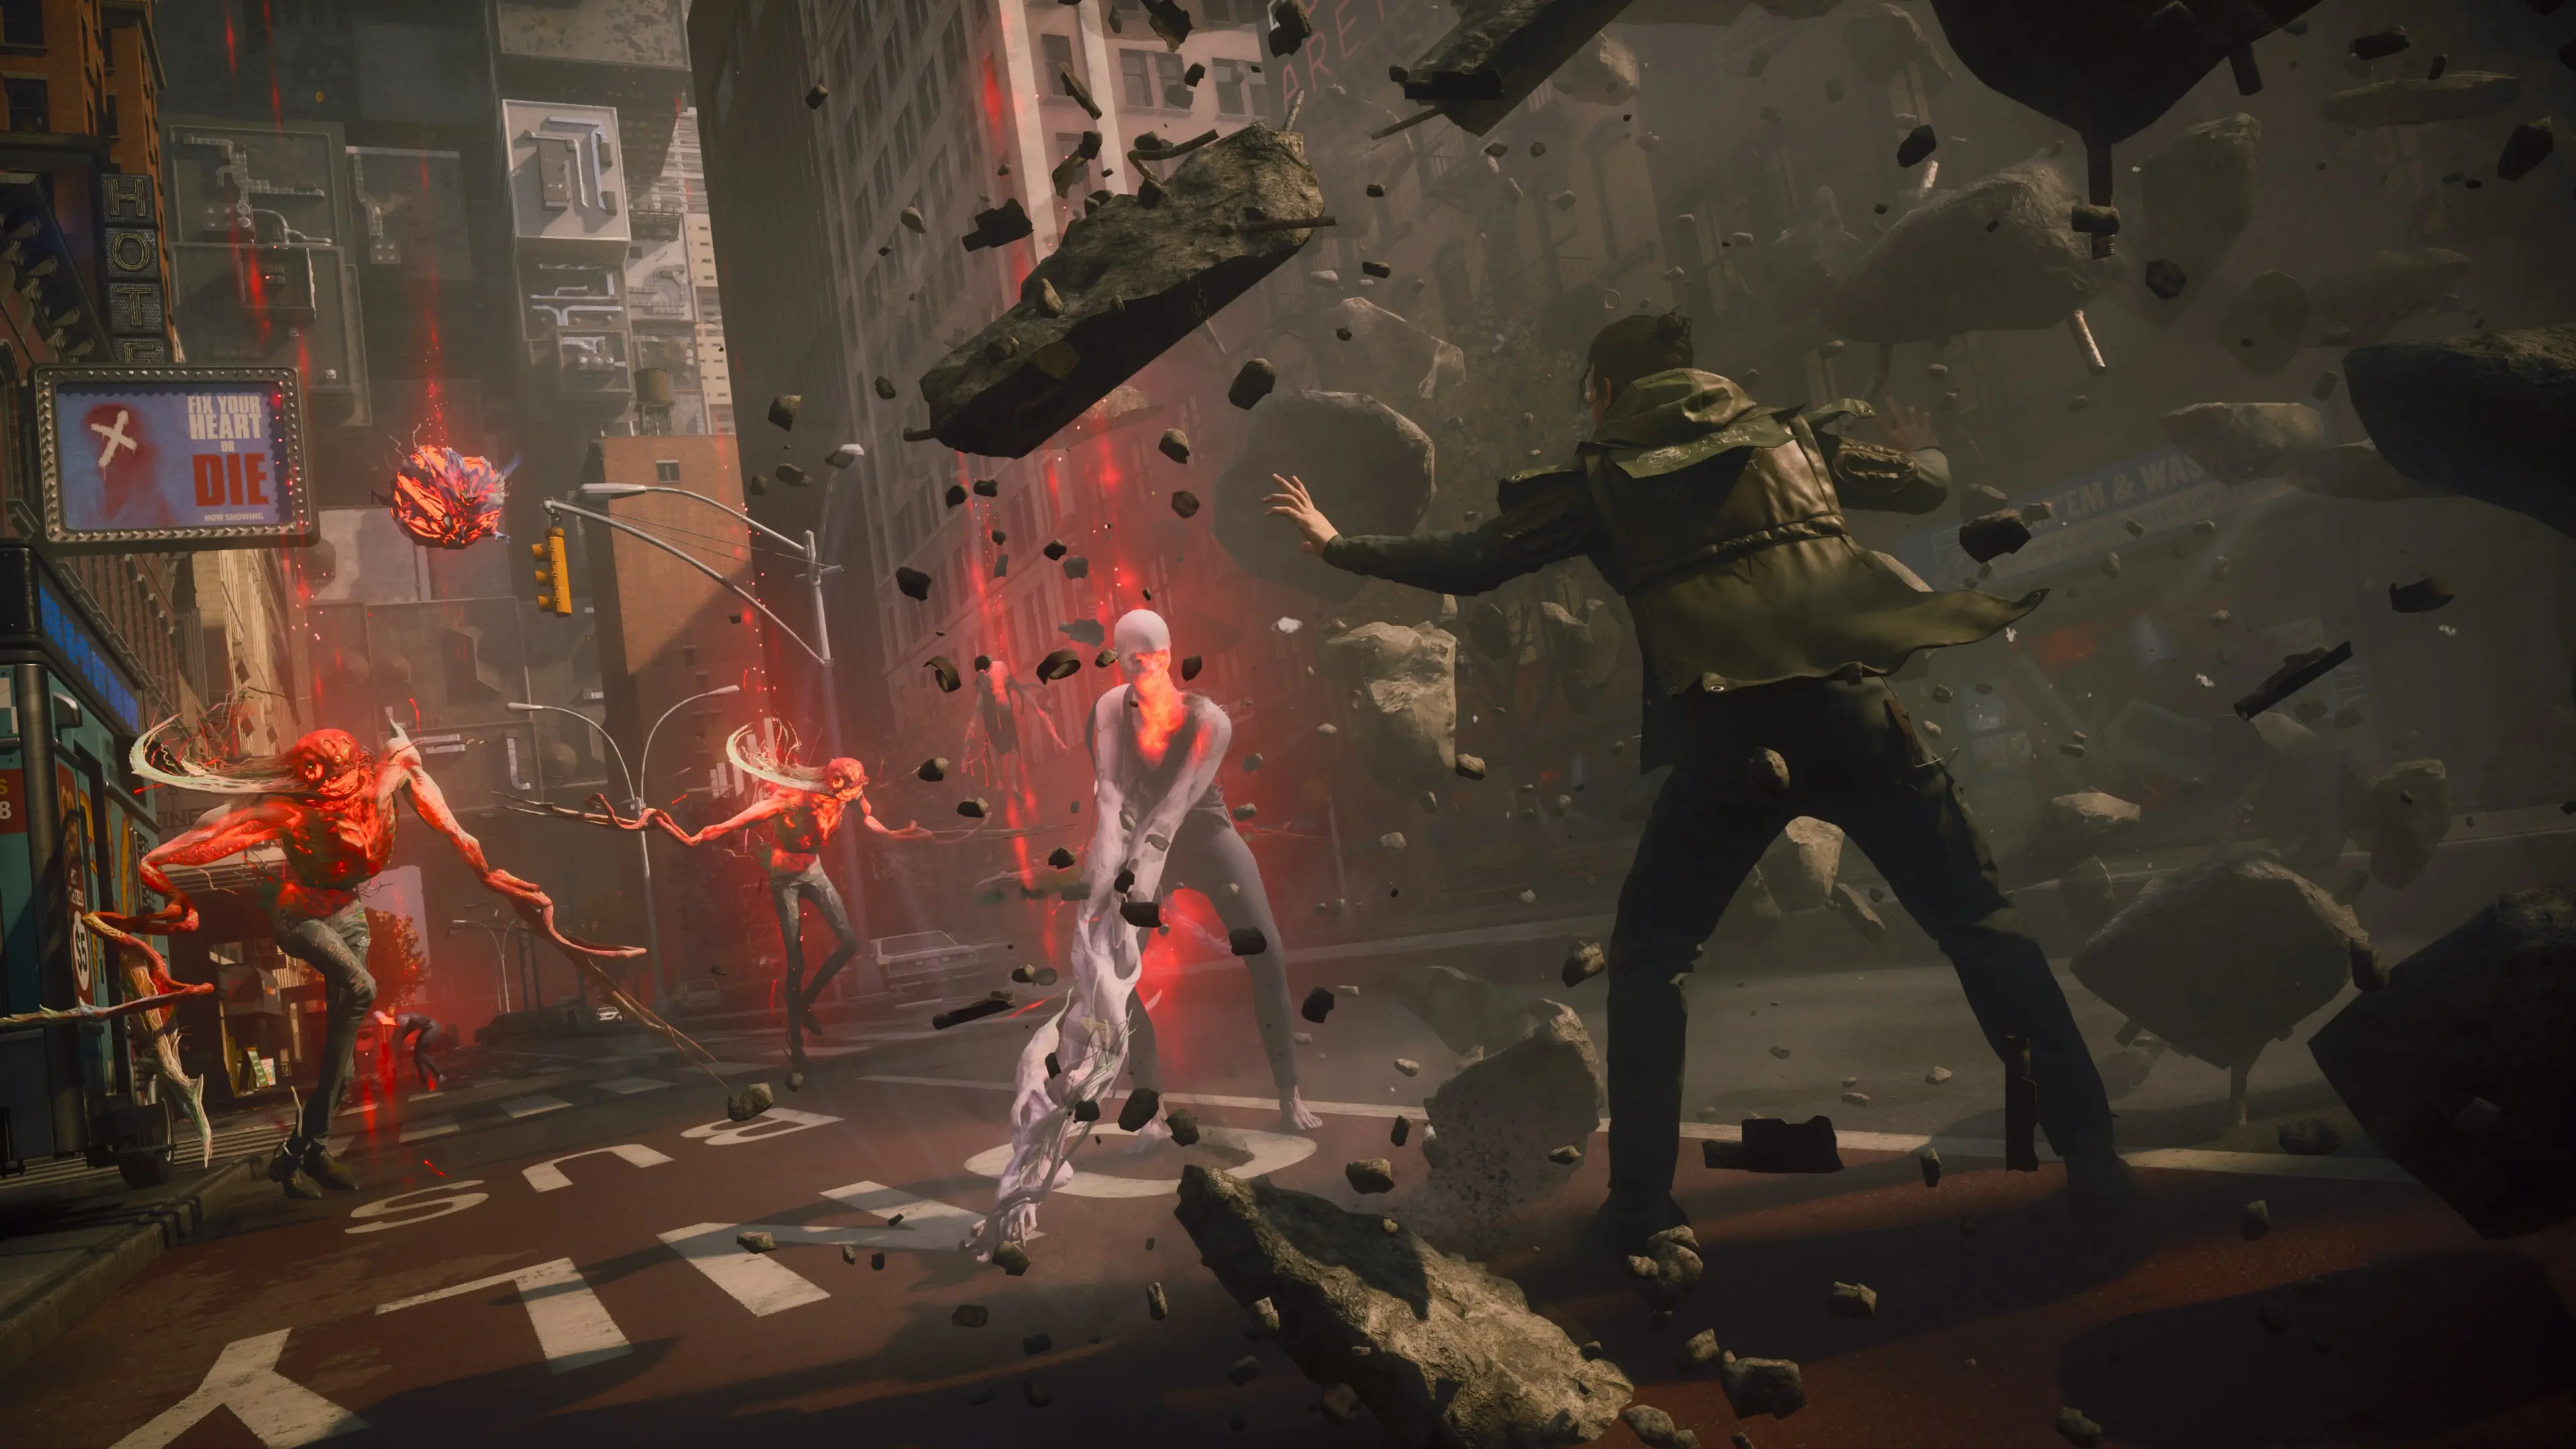
The combat footage puts the Aberrant at the center: melee pressure restores the resource for supernatural actions, abilities interrupt or protect at range, and Falter creates the next opening. In our view, a build is incomplete if it names high-damage moves but cannot keep that loop moving.
We judge a loadout with four questions: can it reach the target, recover Power without unsafe hits, break Falter in time, and create an execution window when health is low? Those questions are more useful than pretending the available review builds give us a universal DPS ranking.
02 / Current patch diagnosis
Change the build layer that matches the combat problem
The current 1.4.2 build retains the 1.3.3 reductions to enemy health, Falter resistance and respec costs. Update 1.4.0 also exposes Build Power in Loadout; falling below an enemy's level makes the fight harder, so finish side quests, explore and level up before treating every wall as a bad Form choice.
Use the symptom table before copying a full loadout. A range problem needs a different answer from a resource problem, and a boss-damage problem should not be treated like crowd control.
| Symptom | Check first | Useful direction |
|---|---|---|
| You cannot stay in range | Form reach and approach safety | Extend, movement tools or an interrupting ability |
| Power empties too quickly | Melee uptime and recovery conditions | Faster safe strings before adding ability damage |
| Falter builds too slowly | Attack cadence and interruption windows | A Form or ability that can keep pressure through short openings |
| You cannot recover health | Execution access and Dominance timing | Create a Falter window instead of trading damage |
| The boss survives too long | Arena uptime, not headline damage | Choose a repeatable punish and one safe ranged response |
03 / Weapon
Which Aberrant Form fits your fight?
The released game opens with three Primary Forms and three Secondary Forms. Those labels describe loadout roles, not six separate weapons to collect, and Combo Enders add another layer. Use the table to match a Form to the fight rather than treating it as a fixed tier list.
| Form | Released role | Use it when |
|---|---|---|
| Strike | Fast paired blades, close range | You can stay near one target and want short attack windows |
| Glaive | Wide sweeping attacks | Several enemies occupy the same space |
| Cleave | Focused attacks with extra damage from behind | You can create a safe flank against one threat |
| Crush | Slow, large mallet | You can trade speed for a heavy impact |
| Drill | Multi-hit piercing pressure | You can keep a target lined up |
| Extend | Long-range flail attacks | You need more space between Dylan and the target |
04 / Power
Add a Combat Ability that solves a gap
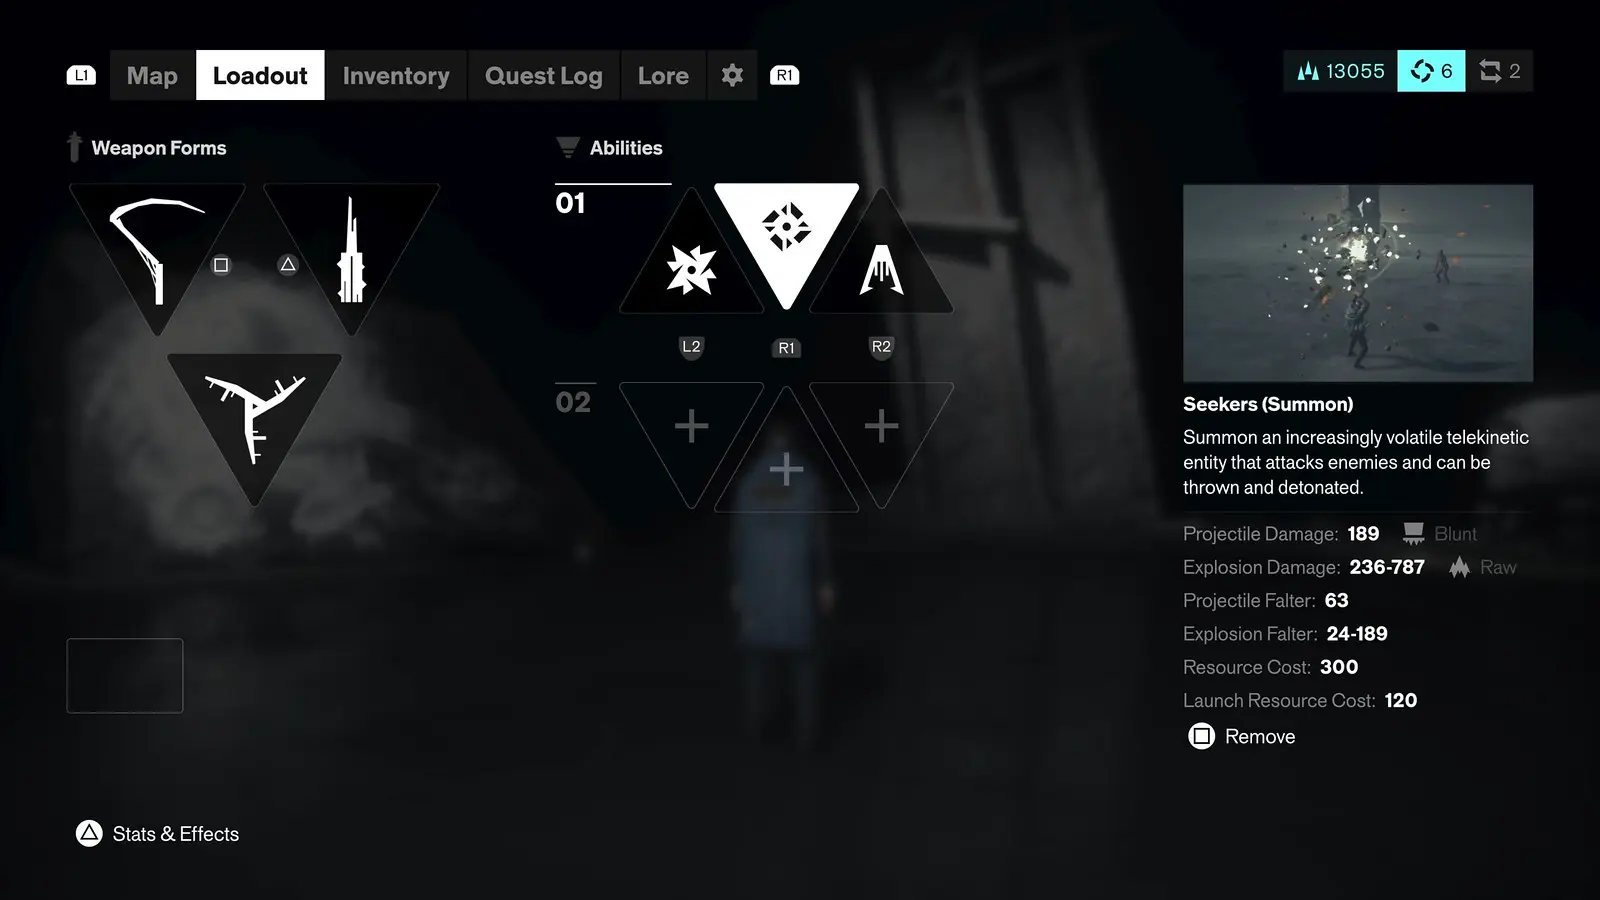
Major Resonants grant Combat Ability branches. The Artist offers Barrage for direct ranged pressure, Volatile Anomaly for a throwable summon and Shield for protection that can become a Shield Bash. Later regional Resonants add fire, crowd-control, Mold, Astral and Command branches.
Choose the ability that covers what the Aberrant Form cannot. A short-range setup may need Barrage, a slow wind-up may benefit from Shield, and a build that already controls Dylan's immediate target may prefer independent pressure from Volatile Anomaly or Growth.
05 / Vulnerable enemies
How do Execution and Dominance work after Falter breaks?
Falter is the opening, not the reward by itself. Against an eligible normal enemy, an execution starts Dominance. That short state raises Dylan's melee damage and makes enemies defeated during the window a dependable source of health, so the next target matters as much as the execution itself.
Bosses use Falter differently: breaking it creates a staggered damage window instead of the normal execution sequence. If crowd pressure is the larger problem, use a Command or summon ability to add an ally; Dominance itself does not convert an enemy.
| Combat state | Immediate value | Player check |
|---|---|---|
| Execution | Removes an eligible normal enemy and starts Dominance | Choose the next target before committing to the animation |
| Dominance | Temporary melee boost and dependable health drops | Spend the short window on a dangerous target without losing access to weaker enemies |
| Boss Falter | Staggered damage window | Use the safe opening; do not expect a normal-enemy execution |
06 / Progression
Spend Talents against a real bottleneck
Zone activities feed progression into Talents. Primary, Secondary and Combo Ender branches strengthen different parts of the loadout, while Respec All and the cheaper 1.3.3 reset economy make focused experiments practical. Record which bottleneck a node fixes instead of treating the whole tree as one universal build.
If you struggle to reach enemies, test movement or a longer Form before spending only on damage. If fights stall after power runs out, examine the melee loop. If one boss move ends every attempt, survivability and Assist Mode may matter more than another attack node.
07 / Passive layer
Fit Artifacts to the build, not the other way around
Artifacts are passive modifiers made from Untapped Artifacts in the Gap. The published first-run loadout has three equipped slots, with a fourth in New Game Plus. A named pre-order or Deluxe Artifact is not proof that a particular effect is essential to beat the campaign.
Read the condition on each effect. A large bonus you rarely trigger can be worse than a modest effect that supports your normal rhythm. We do not have reliable final rolls, crafting rates, or best-in-slot values yet, so we are comparing decisions rather than inventing an item ranking.
08 / Field test
Test the loadout against different threats
The Hiss and Mold are returning threats, while Resonants are major encounters linked to power progression. A summon, a faction and a named boss are different categories; a build that handles The Artist's direct pressure may still fail against The Deserter's unsafe floor or The Collective's distributed targets. Test one target, a group, a ranged attacker and a hazard-heavy encounter.
Watch whether the Form reaches safely, whether the chosen ability controls the most dangerous threat, and whether the setup recovers after a failed dodge. Record the platform and game version before calling a combination 'meta.'
09 / Defense
Dodge first; do not plan around a parry
Remedy has said Resonant does not use a conventional parry mechanic. The demonstrated defense rhythm relies on movement, dodge timing, positioning and supernatural tools. A Shield ability is not the same thing as a universal timed parry.
When a fight feels unfair, isolate the cause before changing the whole build. Repeated projectile hits call for spacing or projectile-speed adjustment; missed timing calls for dodge-window practice or Assist Mode; running out of power calls for a safer melee recovery route.
| What keeps ending the attempt? | Check in the fight | Adjustment to test |
|---|---|---|
| Projectiles before you close in | Where is the nearest safe approach, and when does the attacker commit? | Change spacing or test Assist Mode projectile speed; do not assume a damage-only build fixes the approach. |
| A missed dodge | Is the problem the attack cue or the timing window? | Practise the cue, then adjust the Perfect Dodge Window if timing remains the barrier. |
| No power for an ability | Can you safely land melee hits between enemy attacks? | Shorten the attack string and use melee to restore Combat Ability resource rather than waiting for a passive refill. |
| Arena floor or moving hazard | Which part of the arena remains usable while the attack resolves? | Preserve an exit path before committing to a Combo Ender; The Deserter's burning arena demonstrates why the floor matters. |
08 / Second run
What changes for builds in New Game Plus?
Remedy says combat progression carries forward while story-gated traversal resets. New Game Plus adds Talent possibilities and a fourth Artifact slot, and it can open combinations around earlier ability choices. This creates space for a broader build, not a guarantee that every area is immediately reachable.
Before starting a second run, separate combat progression from story-linked traversal. Keep a list of the alternative Resonant abilities and Artifacts you want to test, while expecting story routes such as the Fault traversal chain to reopen through campaign progress.
Continue the investigation